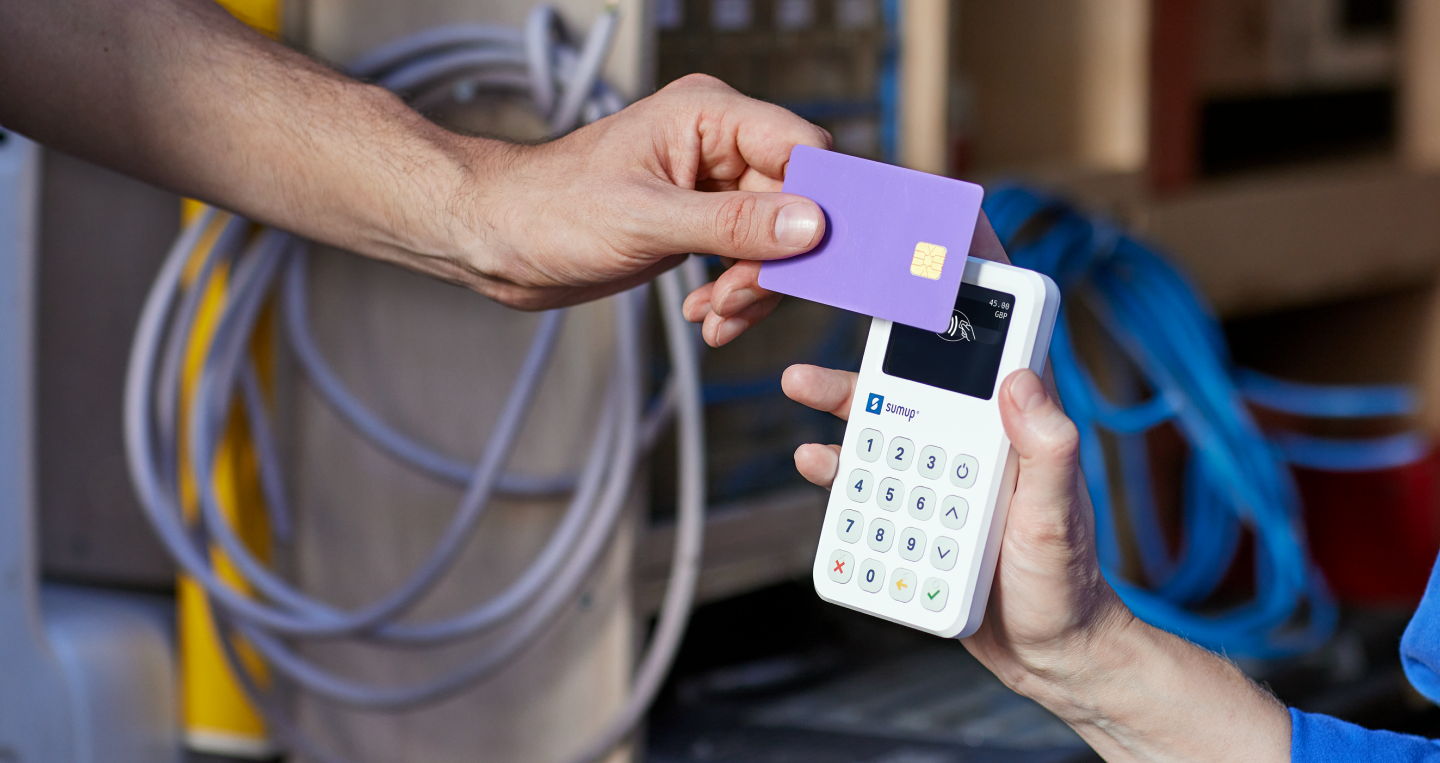
SumUp 3G Card Reader - User Manual
Make sure that you have completed your SumUp account registration at www.sumup.me.
Turn on the device by pressing the power button.
Select the language for your device.
Log in with the account and password for your SumUp account using the touchscreen of the device.
Enter an amount (minimum £ 1.00) and press the green tick to confirm your first transaction with the reader.
And that’s it! You are now ready to accept card payments with your 3G Reader.
For further information regarding your 3G Card Reader and SumUp services, check out our Support Centre.
SumUp 3G Printer Manual
Attaching and detaching the printer
To start using your 3G Printer, attach it to your 3G Card Reader by sliding it in and press gently until you hear a click.
If you need to detach the printer later, just press the button on the front while pulling the card reader, as seen in the image below:
Printing
You can choose to either print a receipt automatically after every transaction or only on demand. To select the preferred option, go to “Menu” -> “Settings” -> “Printer” -> “Auto-print receipts” -> “On/Off”. If the option is switched on, the printing will begin right after you see the “Payment approved” message appear. If the option is switched off, you’ll first see the option to “Print”, “Skip”, “SMS” or “Email” the receipt, and only after you select “Print”, will the printing begin.
Note: in order to print a receipt after a transaction, the printer needs to be attached prior to entering the amount and pressing the “Charge” button. If the printer is attached after a transaction has been started, printing won’t be possible.
You can also print a receipt at any given moment by going to your “Sales history”, selecting the transaction and then clicking on your “Receipt” option. Here you can choose to either print the receipt or send it via Email/SMS.
Once the receipt is printed, cut it according to the instructions shown on the image below:
Note: if the paper is cut incorrectly, you may see an error message stating that the printer is out of paper. To continue, simply push open the lid, pull out some paper and close the lid again.
Paper roll
Three paper rolls are included in the box (one inserted in the printer and two extra). The size of the paper roll is 57 mm in width and 30 mm in diameter.
When the printer is out of paper, it’ll be communicated on the display of the card reader and you’ll also see red lines on the paper itself when it’s nearly out.
To replace the paper roll, push open the lid and insert a new paper roll as shown in the image below:
Charging and cradle
An additional feature of the 3G Printer is that it also works as a charging cradle: when the printer is plugged into a power supply and the card reader is attached to it, both the printer and the reader will be charged.
When charging, use the adapter included in the package. If you need to use a 3rd party adapter, ensure that it supports USB C to USB C charging and fulfils the following voltage and amperage criteria: 5V/3A, 9V/2A, 12V/1.5A.
Using an adapter which is not in accordance with these specs, may result in a defect of the printer.
To begin charging the printer, plug in the cable as shown in the image below and connect it to the power supply:
While charging, you’ll see a LED on the printer next to the USB C plug. When the LED is red, the battery is being charged. When the LED turns green, the battery is fully charged.
You can also check the exact printer battery level when the card reader is attached by going to Menu -> Settings -> Printer.
//